|
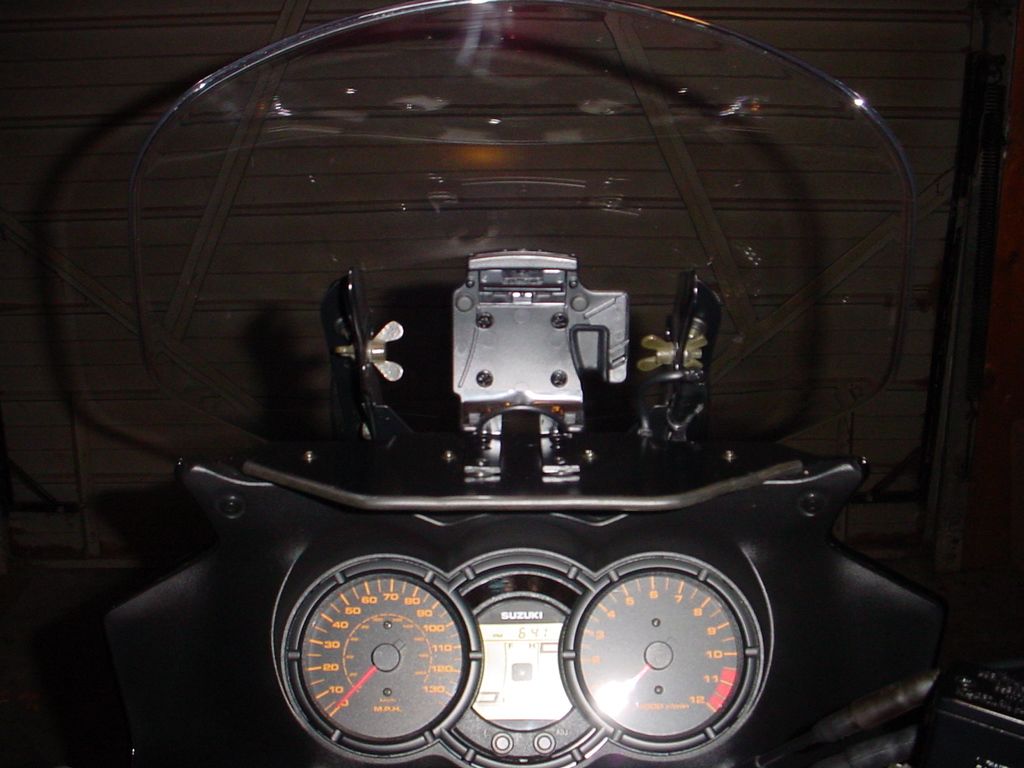
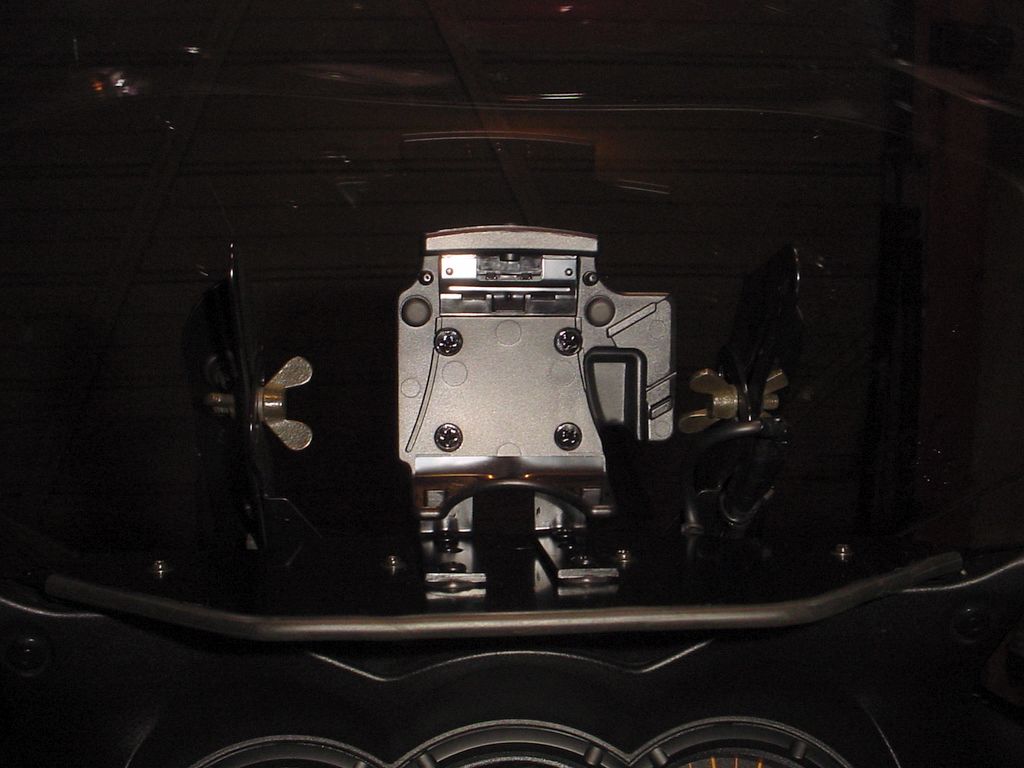
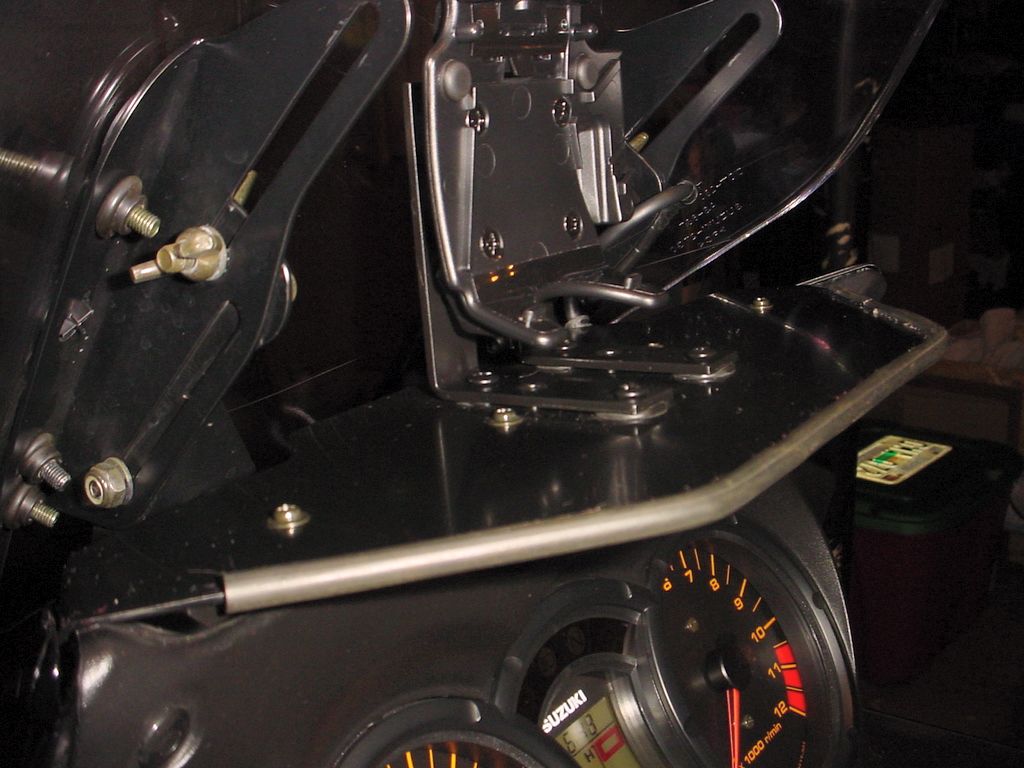
Important Note! I seldom go far from home without a GPS on my bike. I have two of them, a Garmin ETRex Legend C and a Garmin Street Pilot 2820. I mounted the Legend C on my handlebars using a Garmin Handlebar Mount but didn't really like it there. A GPS mounted on the handlebars shows where the handlebars are pointed and that isn't always where the bike is pointed. When I got the larger 2820 GPS I mounted it differently. The Garmin Street Pilot 2820 is a rather large and heavy GPS device compared to the smaller handheld models such as the ETrex series. As such it takes a relatively solid mount or it will bounce and vibrate. The information below details how I mounted my 2820 on a Pat Walsh Designs model R-3 "Radar Shelf." While I loved the positioning of the GPS right in front of me I never could get all of the vibrations out. On very smooth roads it worked fine, but if the road was the least rough the GPS would vibrate badly. In all fairness to Pat Walsh's Radar Shelf it was probably never designed to hold something that large and bulky so I certainly do not blame it for the problems. I still have it on my bike, and may even get a new one since the one I have now has four mounting holes for my GPS in it! I finally gave up and decided to go with a more traditional approach. On February 10, 2007 I ordered a TechMount from CycleGadgets. I still prefer the original mounting position in the windscreen to having the GPS mounted on the handlebars but I have become accustomed to it being there. The TechMount is ROCK solid and the GPS does not move at all. No vibrations, no bouncing, no problems. It is fully-articulated so I can turn my GPS as desired. It is also constructed completely of aluminum as compared to the "Plastic" parts on some of the competitors. Because of this most of the information shown below is no longer valid and I no longer have my GPS mounted as described below. I decided to leave this information on the page since there is some information about the wiring and parts that people may find useful. Other than the virbation problem the mount worked very well, and if I could have cured that problem my GPS would still be there. A bit more about the TechMount that I use ... First, the TechMount, like most mounts, does not come with a cradle to hold the GPS. That must be purchased separately. I used the Garmin 010-10495-01 motorcycle mounting bracket that I had already purchased and it worked fine with the TechMount. The exact TechMount that I purchased for my V-Strom is the Model 30996 HOWEVER .. The top plate on my mount is *NOT* the same as the one shown in the link. My top plate has several additional holes that allow the Garmin cradle to work. My friend AGirl ordered a similar mount for her FJR from Cycle Gadgets and it had the top plate that is shown in the link provided. She also ordered a RAM cradle for her GPS and when everything came in the cradle would not mount on the top plate provided. I did not order anything "Special" nor did I order an additional top plate, mine came that way from Cycle Gadgets. Additionally, mine has the 1½" stem instead of the 3" stem. Why they have two different configurations with the same part number I do not know, but be sure to check what you are getting when you order. The information below is no longer valid and is provided for informational purposes only! I started with a Pat Walsh Designs model R-3 "Radar Shelf." I initially used the adhesive mounting dohicky that came with the GPS but the vibrations were very bad. I added a stiffener underneath the shelf (a piece of 3/4" aluminum angle trimmed to fit) and that helped a good deal, but not enough. I finally got a Garmin 010-10495-01 Motorcycle Mounting Bracket and mounted it to the radar shelf. It is not on the handlebars, it is straight in front of my face but below my normal line of vision. Below are some details of how I mounted it:
Notice in the last photo above that there are two pieces of steel angle that are used to mount the GPS mount to the radar shelf. Also notice that there are rubber grommets beneath the steel angles. I drilled 5/16" holes in the radar shelf for the grommets (1/4"ID) and then bolted the angles to the radar shelf using #8x32 stainless steel bolts, nuts, and washers. The hardware that came with the Garmin mount was used to secure it to the angles. I believe that it is also stainless steel. The angles are about 1/2" wide and 3" on each leg. I used the top holes in the angles and the top holes in the GPS mount, and then redrilled the bottom holes in the angles to line up with the holes in the GPS mount. On my first try I did it the opposite way to keep the GPS mounted lower, but because of the way that the GPS pivots into the mount it was too low and I had to start again. All of the hardware was given a couple of coats of satin black Rustoleum and it was good to go. All of the hardware came from Lowes and cost about $5 or so. The GPS mount is $20 from Garmin and the Pat Walsh Radar Shelf is $29.&nsbp; Total cost is about $54, however you will also need the audio and power cable from Garmin to power the GPS. That is one expensive cable to! You can get it with the GPS mount for $50 (Garmin part #010-10495-00) or separately for $34.98 (Garmin part #010-10495-02) That is a ridiculous price, but they pretty much have you over a barrell if you want to wire it to a bike. The Garmin power and audio cable needs a little more discussion. First, as mentioned above, the price is ridiculous. $35 for a cable is a joke, but you don't have a lot of choice. The connector that goes to the GPS is some sort of proprietary connector and finding one like it would be difficult, so just bite the bullet and get one. Next, the audio connector is a 3/32" mono connector. It is compatible with most ear plugs for cellular phones, but if you use stereo "Ear Buds" you will most likely need a 3/32" to 1/8" adapter. Since it is mono and not stereo you are not going to get stereo sound from it, only mono. Here is what I did: First, I chopped the audio connector off of the cable. I spliced some shielded cable onto it to get back to my seat and then put a 1/8" stereo connector there to mate with my ear buds. I connected both the left and right channels of the stereo connector to the single mono channel of the cable so at least I get sound in both sides even though it isn't stereo. If you choose to go this route you'll find four wires when you cut the connector off. Two of them (red and black) don't connect to anything and will pull right out of the cable. The brown wire that is remaining is the audio signal and the white is ground. Connect the brown wire to both the left and right channels of your ear plug connector (the tip and mid ring) and the white to the ground (the barrell) and you'll have decent sound. One advantage to using this particular Garmin mount as opposed to the one included with the GPS is that the motorcycle mount has a little "Security Screw" in the top that makes it more difficult (but still not impossible!) to steal the GPS. It is a Torx-style screw that has a pin right in the center that prevents a standard Torx screwdriver from working. Garmin provides a small screwdriver with the mount that can be carried on a key ring or left on the bike somewhere. Just don't lose it! One disadvantage to using this mount is that there are still some vibrations in the GPS. The steel that the shelf is made from is not terribly thick and is only supported by the ends. In all fairness to Pat Walsh though, the shelf was never designed to hold a device as large as this GPS, it was designed for radar detectors. I added a stiffener on the bottom of the shelf but even so the GPS still does vibrate some. I'll probably try to find a way to support the center of the shelf to help some. As mentioned above, I do have a stiffener installed underneath the shelf. Since I put it on before I installed this mount I'm not sure how much it helps dampen the vibrations, but I'm pretty sure it does contribute a great deal. The Garmin 2820 is somewhat heavy and the radar shelf is not that stiff. Additionally, since it is only connected at the ends the center has no support. You may find that you need more support than the shelf alone provides to dampen vibrations. Even with the stiffener there are still some significant vibrations, especially on rough pavement. My stiffener is made from a short piece of 3/4" x 1/8" thick aluminum angle from Lowes. I cut it so that it would fit as wide as possible on the shelf (you can't just go from edge to edge since the instrument panel of the V-Strom is in the way). I cut the front side of the angle so that it cleared the dash but left as much on as I could. I then bolted it to the radar shelf using 4 small bolts and nuts. A couple of coats of satin black Rustoleum and it's not even noticeable. Also note that the Garmin part numbers are the same as for the Garmin Street Pilot 2610 and Street Pilot 2720, so this should work fine with them as well. Finally, one last note: The Pat Walsh radar shelf does not come with the rubber edging that is shown in the photos above. That is a piece of vacuum hose I split down the center and put along the edge. I prefer it to the sharp edge left on the shelf. | ||||||||||||||||